My Nintendo GameCube clock battery was depleted. A hassle, because any electronics which are old, or I am not going to use for extended period of time I keep unplugged. This means I need to set the date and time on the console when I want to use it. I finally decided to replace the battery, but not with a permanent one. The battery is soldiered to the controller ports PCB. I wanted to be able to easily replace it in the future without having to disassemble the console too much. I bought a pack of button cell battery holders and modified one to fit in the spot of the old battery. The battery holder I chose pinches the battery instead of pressure fitting it. The position of the battery is vertical, and I knew I will have to modify the battery holder, so I wanted to make sure the battery does not come loose inside the console, whereby causing a short!

To fit the battery holder in the original battery soldering points on the PCB, I had to remove its bottom right section. The battery holder is much bigger than the button cell battery, which causes it to bump against one of the controller ports.

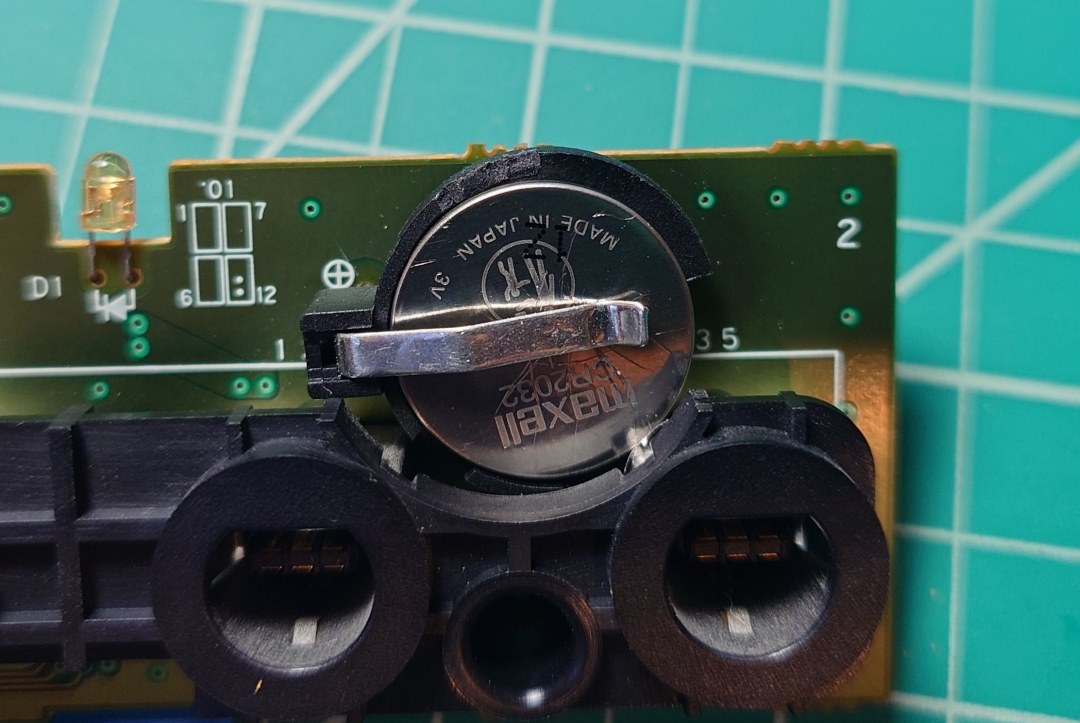
After mounting the battery holder, its position in itself creates another problem. The battery makes contact with the controller port shielding, because the battery holder shifts its position down. To solve this problem, I used tape placed onto the port shielding.

Placing the tape on the port shielding instead of the battery prevents issues like forgetting to add tape on new battery, or tape tearing off and getting stuck between the battery and the positive terminal. The pressure applied by the positive terminal clip is surprisingly strong.

Another modification I made to the battery holder was to remove one of the positioning panels. This enables me to remove the battery with pincers without the need to take apart the controllers PCB housing or movement of the ribbon cable.
Overall, this is much quicker and easier than replacing the caps on my Gameboy. The whole process takes less than 30 minutes. The only problem is that it is cheaper to buy a pack of button cell battery holders than a single one. Now I have a bag of them! Coastwise, the pack of 15 battery holders cost me just under $10 and same for a 20 pack of CR2032 button cell batteries.